Chathouse 3D Room Editor is a powerful tool which allows you to build incredible locations by yourself or in cooperation with your friends.
This section of our Knowledge Base is dedicated to suggestions to boost your location performance one of the most important aspects of Room Editing.
The amazing creative freedom allowed by Room Editor is also its weakness. When creating a location we must always keep in mind that an unwise and badly planned use of the editor’s features may make your newly created location nearly unusable by most medium and low-end systems.
Click here to learn how to change the game settings if you own a low-end computer.
Performance Tips:
Mirrors
Mirrors are the most challenging objects for your graphic card. The bigger the mirror, the more GPU power is needed.
While performance improvements are constantly offered with every minor and major game update, we still suggest you use mirrors only if strictly necessary, keep the size small and avoid them when creating very large and complex locations.
Transparencies
Transparent objects are way more resource-hungry than solid ones. The issue for low-end video cards is “fill-rate limit”. Not to get too much into technical stuff, you must consider that for non-transparent objects only the front part must be rendered, everything behind that can be discarded. For transparent objects, everything must be rendered! The worst case, for example, would be some kind of “20 FOG LAYERS” one after the other.
There is also a huge performance difference between “mask” transparency and “blended” objects. Transparency blending can really slow down your graphic card. Here you can find a detailed explanation of transparency functions.
Tip: Make sure that transparent objects are as small as possible and occupy a small display area. Of course you can always walk very close to an object and it will become large on screen. The spirit of this tip is to avoid large transparent objects as clouds in the sky, large glass doors, etc…
Tip: To make it simple: Material Transparency Mask is OK, transparency blending should be limited as much as possible.
Tip: When you use “Blend” always deactivate “Material Depth Write”, when you use the “Mask” activate “Material Depth Write”. (Saves ressources).
Animated Textures (GIFs & Animated PNGs)
Animated textures (gif/apng) are one of the most challenging features for Universal Objects. They require a heavy work from the GPU and use more memory.
Also, animated textures ALWAYS drag on performance, even when they are not displayed on screen. For example, this does not happen with transparencies.
Animated textures are also bigger in filesize. All the textures must be loaded from the server into the game and that may require longer loading times if the filesizes are big. Using transparencies with animated objects looks good but impacts performance as well.
Tip: Limit the use of animated textures to a maximum of 5 in each location.
Tip: Make sure the filesize is as small as possible (with a decent quality, though). You can use online tools to archieve that like ezgif.com.
Tip: Make sure your image is not larger than 512X512 pixels. A larger image will not look beter since it will be scaled down to 512X512 anyways but it will still have a bigger filesize.
Tip: Make sure the object is as small as possible in game, so the animated rendered area will never be too big.
Tip: Use animated textures only as ColorMaps, avoid using them as Metal/glossyMaps and especially Normalmaps. Colormaps require less resources from your system.
Tip: Avoid using blended transparencies with animated images as much as possible. So, when using transparencies on animated images, always remember that activating the Material Transparency Mask and keeping Material Transparency Blending deactivated is by far the best choice performance-wise. Transparency options in Universal Objects are described here.
Tip: Use thriXXX water planes instead of any water custom animation when possible.
Plants
Plants are a very nice addition to your location. Unfortunately they have quite an impact on performance so we suggest to limit their use, especially those with more complex details.
The same issue presents with trees, the most resource-demanding of which is the “Acacia”. We do not recommend using more than 5 pieces of it in one single location, possibly none. Other trees have better performance, so you may use more. Scaling down the tree size can help performance, too.
Number of Objects
To make sure your location is easily playable by most users we suggest you use less than 1000 Universal Objects. Adding less than 500 will guarantee a relevant increase in performance in low-end systems. When the number of objects reaches 3000 performance surely is affected and 5000 is considered at the moment a limit not to cross.
Videos
Youtube Videos may have a heavy impact on performance, worse than animated textures (gif/apng). They cost network speed AND cpu decoding speed. The intended use for that feature was as a YouTube TV. Using the videowall to add effects (like fishes in an aquarium) is not recommended as it will slow down older systems (framerate drops/freezings) and will use a huge bandwidth (Youtube downstream)
Tip: using “low-res” videos would be better than using any “FullHD” ones. Consider that Youtube usually handles that automatically, though. The actual ingame size of a picturewall with video does not influence performance.
Tip: If you just need to add music to your location, the mp3 radio player would definitely be a better choice. When adding a Youtube video to your room, the VIDEO component impacts on performance a lot more than the audio stream.
Tip: You also can deactivate the playing of videos in the game settings!
Lights
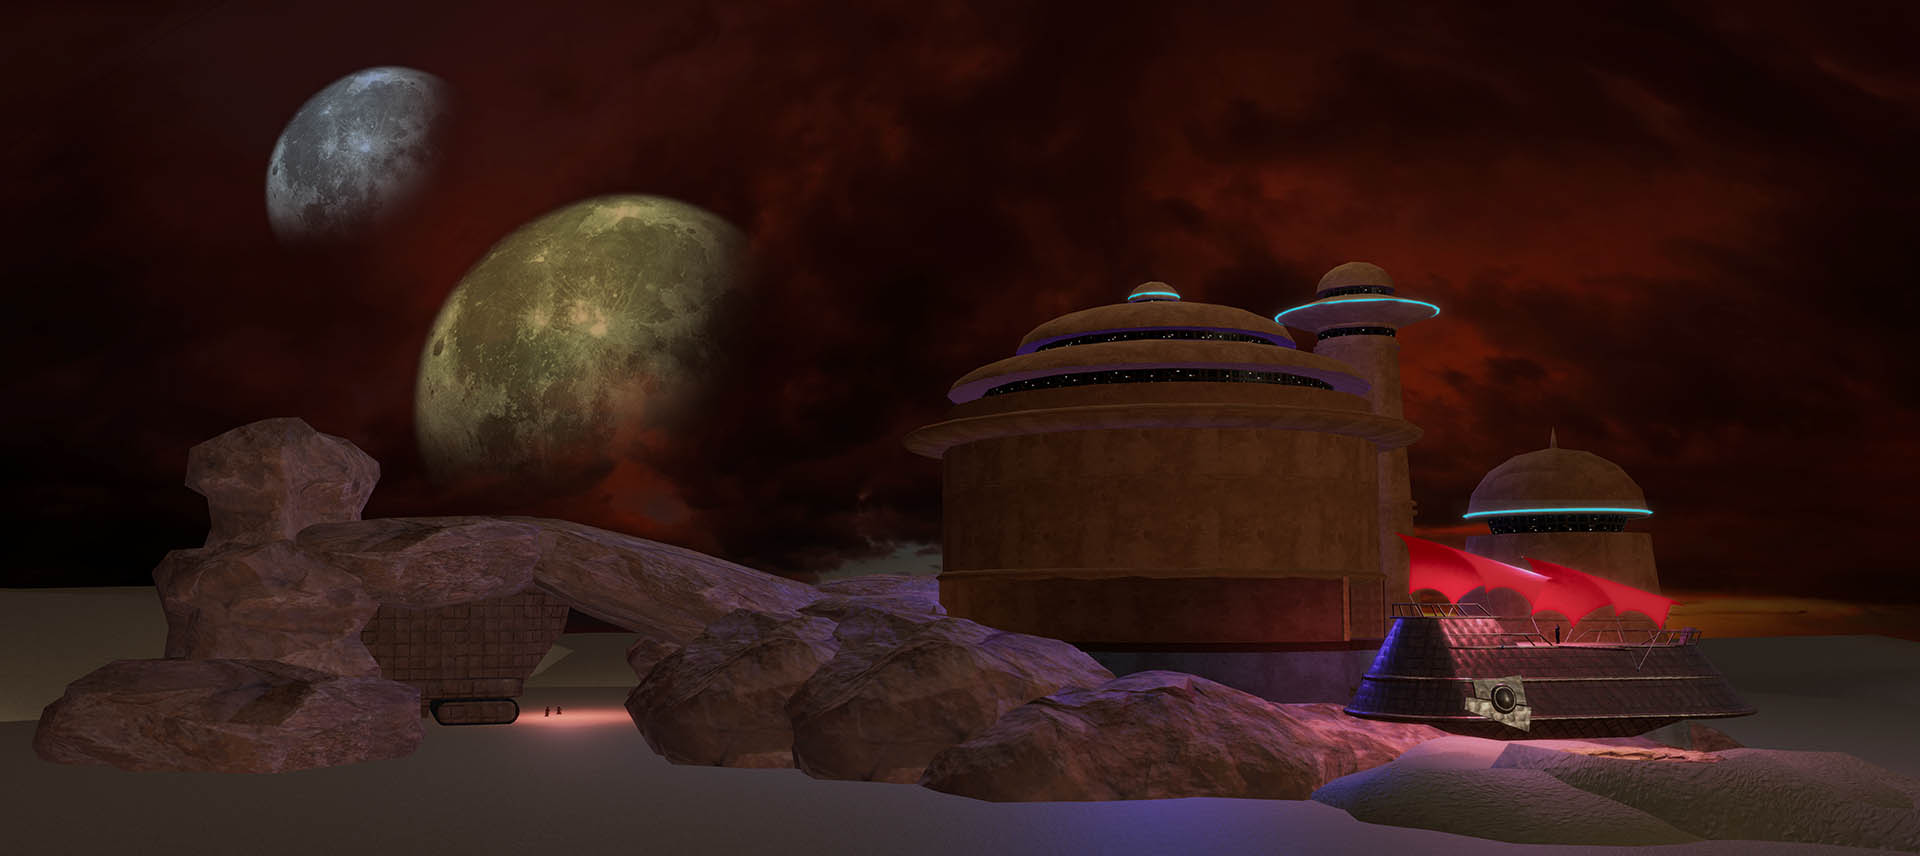
Creating light effects in Chathouse can really set a location’s mood and style making many details “pop”. At the moment the game can handle 32 lights in total, and the engine is optimized for about 16 “local” lights. Further optimizations will increase performance even more.
We suggest a number of 3-7 lights maximum for each area in your location.
In larger rooms or featured locations we suggest a lower number, 5 or 6 as maximum.
You can still use light emitting items and turn the “light Intensity” slider to zero. This will keep the object (lamps, candles…) but they will not emit light and will not impact performance. That works especially if you are planning to use many candles.
Collisions
Walk Collision is a feature that prevents the avatars from walking through objects. It also requires graphic and CPU resources so we suggest you only use it for objects which really need this feature.
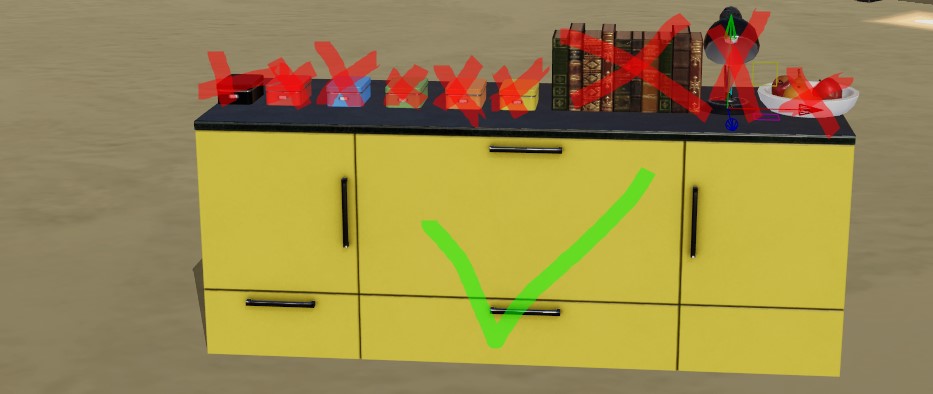
For performance reasons we suggest you turn off all collisions and place walkable tiles (with active collisions) only where you’re allowed to walk. You may still want to add collisions on very few objects and only if striclty necessary for the dynamics of the room.
That is because as a general rule individual walkable tiles consume significantly less performance than collisions.
For example:
Nearly every object in Chathouse has the walk collision option available. In this example we can keep collision on for the cabinet, while we can disable it for all the red marked objects. In this case the cabinet will prevent your avatar from walking through without all the unnecessary collision calculations for all the other objects.
Shadows and Performance
Shadows can use some resources but they give a more natural look to your locations. Try disabling shadows when possible especially on floors or where their impact is less relevant on the overrall look of the scene.
Custom Textures
Custom textures give Chathouse 3D Room Editor so much potential, but also may turn your location into a resource-hungry monster for slower PCs.
Textures stress both VRAM and GPU (most impact on memory). The final performance heavily depends on your system hardware. Most recent graphic cards have up to 8GB or more memory but older ones may have less than 1GB. In order to keep your location playable by older systems, we suggest a maximum number of different textures of 256.
Please also consider that the game will need to download all those textures before the user can join your location, which can be a struggle for users with a lower bandwidth.
Tip: “Recycling” is good for the planet, and for your location too! Use the same textures as much as possible. To make them look different you can use texture scaling as shown below. You can also change their appearence using the color sliders: performance-wise they will still count as 2 different textures but they will impact less on your performance than 2 completely different images.
Tip: You can also set Texture Scale to “0/0”. This method allows you to change the surface to one single color and nearly need no resources since no texture picture is needed. In a lot of cases the results are very nice.
Tip: Try and keep the texture size to 512X512 pixels for Universal Objects and 2048×1024 pixels for Sky Background since if you use lower or higher sizes they all get scaled to the default size before they get rendered anyways. By the way, the lowest functional size is 16×16 pixels.
Tip: try and keep the texture filesize as low as possible. You can use the free webservice compressor.io/. Also consider the type of image file: usaually JPGs are smaller files than PNGs, but their quality is lower. Compression improves network speed only and has no benefits as it regards final rendering speed since textures always get decompressed in the GPU. The game engine takes less time processing PNGs than JPGs. It is still a clever option to compress textures since it can decrease loading time significantly!
Floor Levels
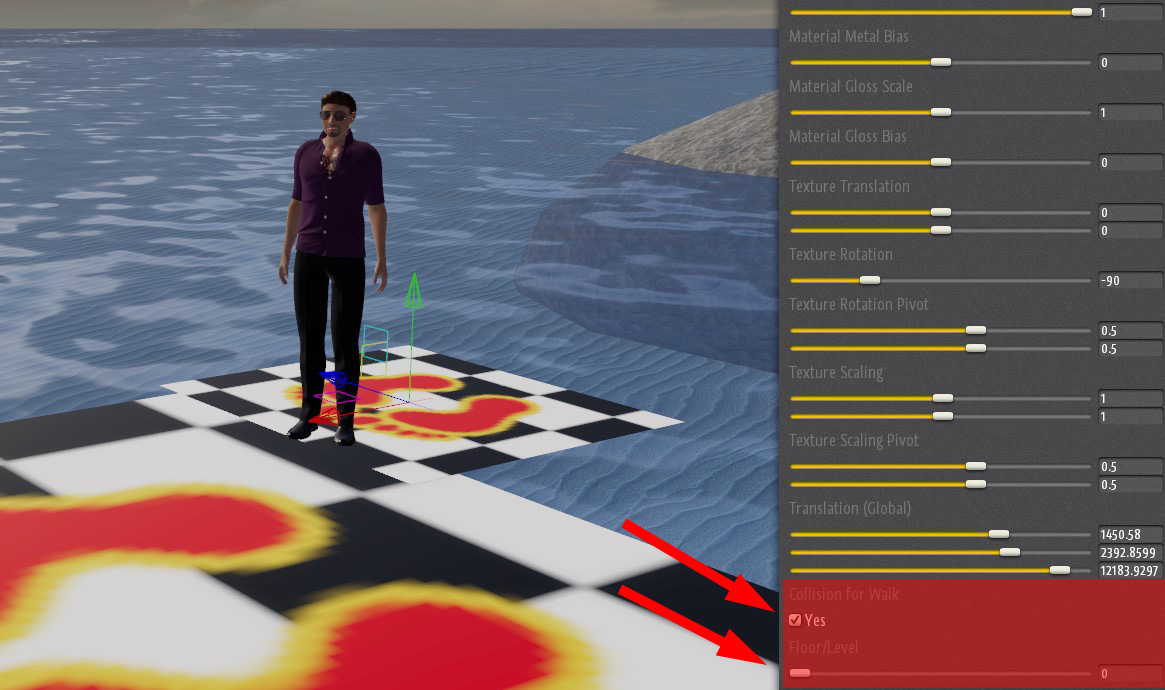
Use as few floor levels as possible. Always avoid number 0 as level number.
Duplicated Items
Duplication (CTRL+D) is a nice and easy way to build your location very quickly and use the same textures over and over to save memory and CPU resources. If you duplicate an object(s) by accident, just click on them and press “DEL”. This action can be undone (CTRL+Z for Undo action).
