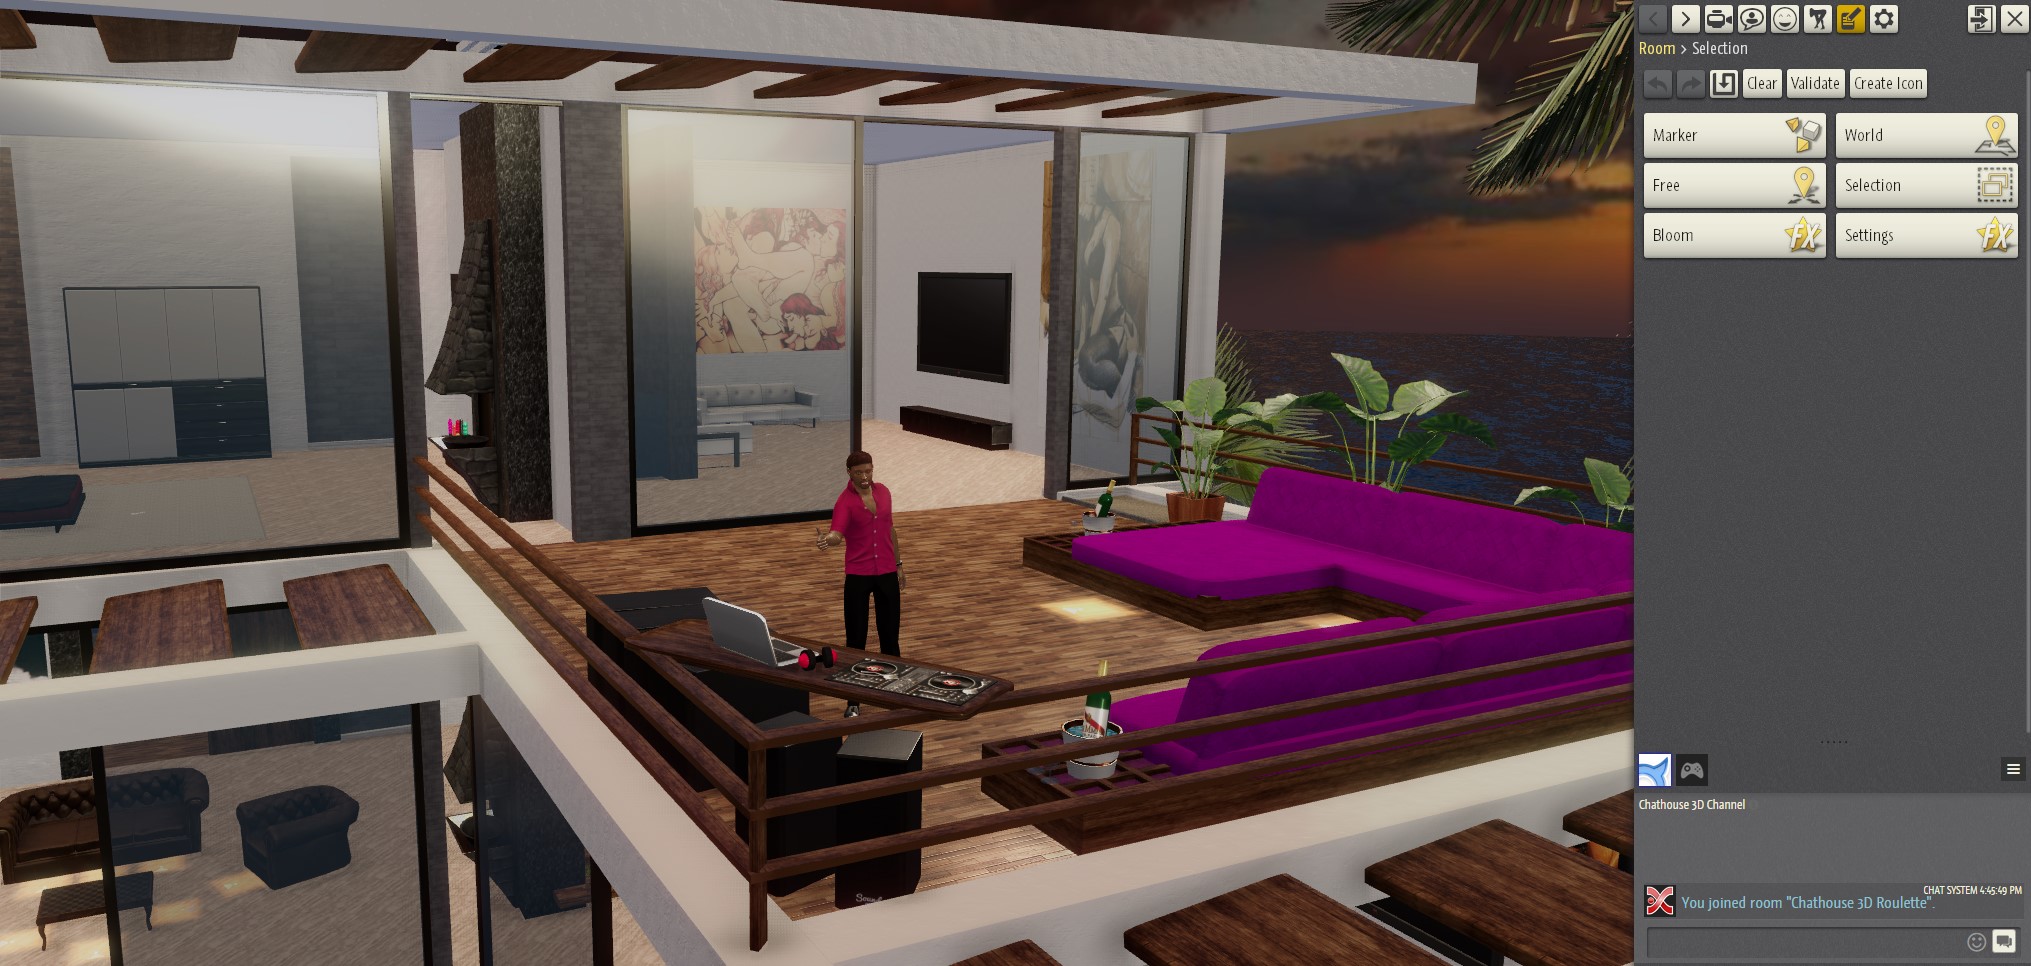
Once you enter the Room Editor, you will be presented with the same user interface as the classic Chathouse 3D game, with a few differences.
Your Customization Window (F5) will change from the Character Customization Panel into the Editor Customization Panel and display different features.
The “Input Settings Panel” will also show the “Mouse edits furniture and moves camera” option set by default. The “Editor Mode” allows you to edit the location with the Room Editor tools. It is the default mode and you can toggle it by pressing SHIFT+F2.
You can also activate the normal mode (game mode) while you are in the room editor to test the location you are building (collisions, walkable sufaces…). You can toggle it by pressing SHIFT+F1. You can also invite friends to help you with your current project.
If you want characters to be visible in Editor Mode, please make sure the “Show character in furniture edit mode” box in the Camera Control Tab is ticked.
![]()
1. Editor Customization Panel:
When you enter the Room Editor you will find this menu in the side panel at first.
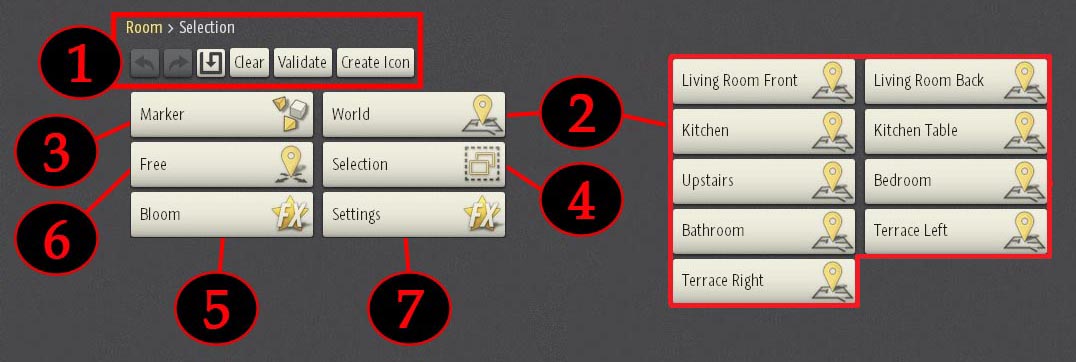
- “XXX > YYY” shows the directory where you are right now. Clicking on the first level (“Room” in this example) will always bring you back to the root of the list of categories.
The first buttons activate the Undo and Redo function, the button with the arrow symbol will Save your changes (it will stay red during cooldown time), Clear will remove all the furniture from the room, Validate will test if all interactive furnitures are correctly placed and Create Icon will create a preview Image used in the Lobby Panel. Be aware that correctly placed objects may be wrongly marked as misplaced by the validation tool: they most times work just fine. - “Location Area” shows you a list of all the items located in the selected area. Note: As you can see in the image above, these areas may change from one location type to another.
- “Marker” shows the list of markers (spawn points) you can use ingame. These are the exact locations where your avatar will appear when joining the room. You may want to place more than one so players who enter at the same time will not spawn one inside the other. You can choose to place all markers in a specific area to force players to walk a certain path in the room or you can place them around the whole room to allow players to enter the gaming area closer to where the other avatars are.
- “Selection” shows the customization options for a single selected item. These options may vary depending on the item you have selected.
Note: Multiselection (selecting multiple objects) will not show all of them in this window. Only the active one will be shown. - “Bloom” allows you to customize some light effects for the location.
- “Free” shows a list of ALL objects.
- “Settings” will open the settings panel with mostly options to customize light effects.
3. Basic Objects:
Basic objects are simple items. They can be easily added to your location and moved around. Customization is limited and often not needed, making these items ideal to create your custom location quickly and easily.
The list includes:
-
- Basin
- Bathtube
- Bidet
- Cabinet
- Carpet
- Decoration
- Floor Decoration
- Plant
- Plant Pot
- Shower
- Tree
- Wall Decoration (exept the mirror)
- Wardrobe
- and all interactive furnitures (like beds, stools, fetish furniture…)
Available settings:
- Selection: This tab allows you choose
between different objects whitin the same category.
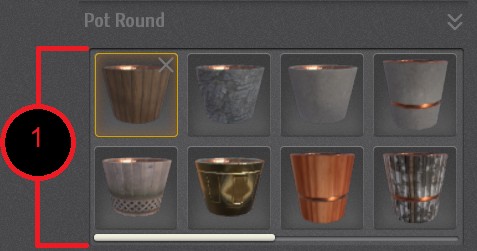
- Name: This field allows you to insert a custom
name for your own reference if you feel the
need to do so.

- Translation: This slider allows you to move
the object over the X, Y and Z axis.

- Rotation: Rotates the object over the X, Y
and Z axis.

- Scaling: Allows you to change the size
of the object.

- Translation (Global): Locates the object with
coordinates inside the room.

- Collision for Walk: If turned off it allows
avatars to pass trough the object. If turned on,
the object becomes solid and behaves like an
obstacle for all the characters in the room.

- Deactivating collisions for all the objects which dont necessarily need it will increase the performance of your room (FPS).
- You can use the Copy/Paste function on all the fields (CTRL + C and CTRL + V)
- You can also use the snapping feature for those manipulators.
- The multiselection allows you to manipulate multiple units at once.
CTRL + LMB (adds an object to the selection)
SHIFT + LMB (adds or removes an object from the selection) - “O” Shows the hitboxes for all units.
4. Interactive and Universal Objects:
Interactive Furniture:
This type of furniture are necessary for using most sex poses.
You can also choose a universal interactive object which has the same functions as the bed, stool, table and fetish objects but you can edit its shape, textures and transparency.
Manipulators:
You can edit/ manipulate objects with the Manipulators. You can select them by right clicking on the objects or using the W, E and R keys.
When you click on an object, you will always see one of those three options:
- Translation Manipulator (W): Moves the object on one or 2 axes depending on the control you choose (arrows or squares)
- Rotation Manipulator (E): Rotates the object(s) over the three axes.
- Scale Manipulator (R): Scales most of the objects.
Universal Interactive Objects allow you further control:
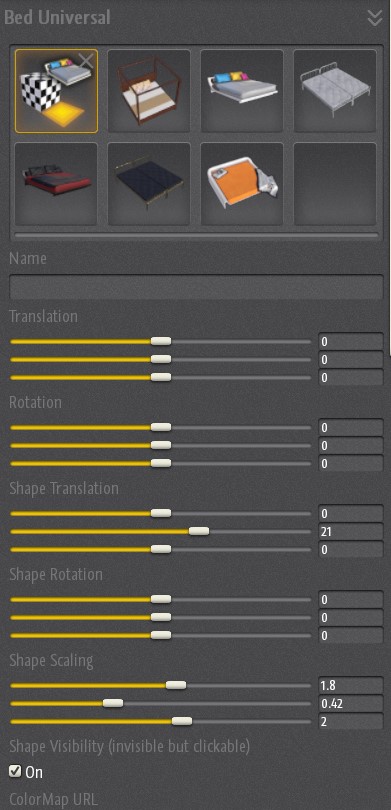
- Shape Translation: Moves the interactive object whitout moving the point where the avatars are.
- Shape Rotation: Rotates the interactive object whitout rotating the point where the avatars are.
- Shape Scaling: Scales the interactive object with no effect on avatar placement.
- Shape Visibility: It allows the interactive object to be transparent. This feature is very useful when creating custom furniture or when placing poses on custom objects. You will still be able to identify the presence of the interactive object from the transparent marker.
Universal Objects:
This type of objects offer the most ample range of customization. They are not included in the room editor and must be purchased in the shop here: Universal Objects Bundle 1 and Universal Objects Bundle 2 unless you already have an active subscription. Their main feature is the option to use textures as you can read in the article dedicated to Universal Objects.
- You can also use the snapping feature for those manipulators.
- The multiselection allows you to manipulate multiple units at once.
CTRL + LMB (adds an object to the selection)
SHIFT + LMB (adds or removes an object from the selection) - “O” Shows the hitboxes for all units.
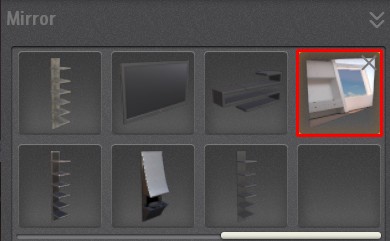
5. Mirrors:
Notice: Mirrors are very resource hungry, so limiting the number of mirrors to only one is strongly advised for performance sake.
Placing multiple mirrors in the same location may lead to graphic bugs that can be fixed only limiting the mirrors to a single one.
Best results are archieved having reflections on “high” in the effect settings.
Reflection (only for wall mirrors):
The Reflection Range allows you to configure how mirror reflections work. The mirror may turn grey at some extreme settings in order to preserve location performance.
6. Lights:
With lights you can give a unique look to your room.
Items which support lights are:
- Lamp (Floor Decoration, limited selection of settings)
- Floorlamp (Floor Decoration, (supports all settings)
- Candle Holder (Decoration, limited selection of settings)
Note: some basic lights are free to use, others must be purchased in order to be used. - Point Light
- Spot Light
Light Settings:
Light settings can sometimes be tricky. You need to test different settings in order to get the perfect effect you are looking for.
- Light Color sliders: they adjust the intensity of the red, green and blue channels. Moving the slider all the way to the left will reduce the intensity of that channel to zero. With all channels set to zero the object is black.
- Light Cone Angle: Determines how wide the light cone is. Higher values will illuminate bigger areas.
- Light penumbra Angle: sets the size of the area where light transitions to darkness.
- Light Radius: sets the radius of the area where the light has its effects.
7. Bloom:
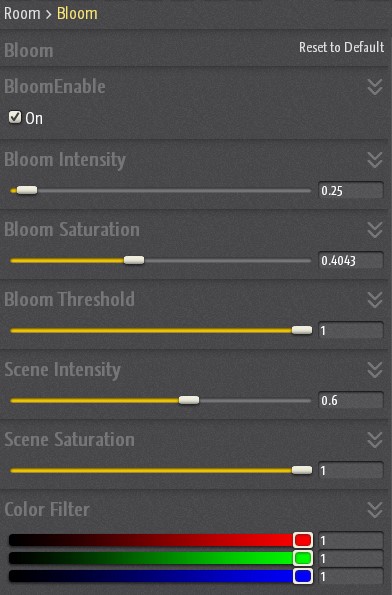
Bloom Settings:
(If you don’t have the subscription, you can purchase it in the store)
Bloom Enable: Activates the bloom effect.
Bloom Threshold: ON OFF Sets the luminosity level at wich bloom starts to show.
Bloom Intensity: ON OFF Sets the intensity of the glow effect.
Bloom Saturation: ON OFF Sets the color saturation of the bloom. The color is referred to the objects right behind the light.
Scene Intensity: ON OFF Sets the intensity of the light that is reflected from all the objects in the scene. It basically sets the overrall luminosity.
Scene Saturation: ON OFF Sets the color saturation of the whole location.
Color Filter: Allows control over the single RGB channels in room lights.
8. Settings:
Settings:
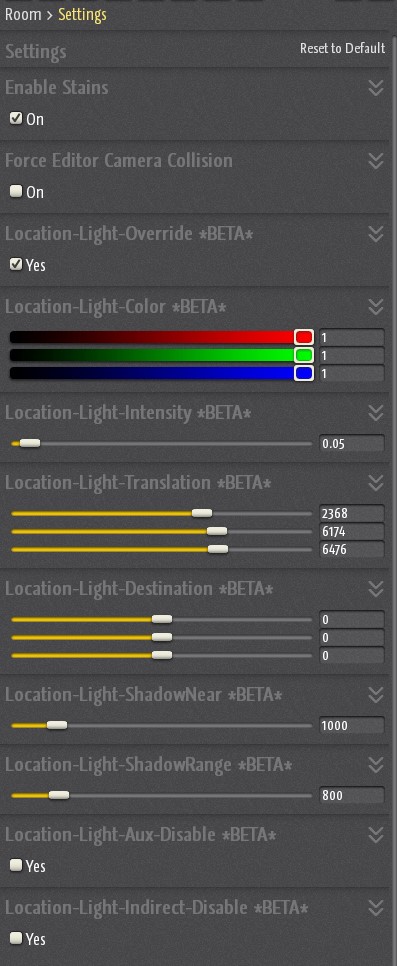
This panel allows you to edit a few functions, mostly related to lights.
Enable Stains: Allows avatars and objects to get dirty with fluids from the characters.
Force Editor Camera Collisions: Forces collisions on all objects even when the Editor Camera is set. It can be used to prevent players from viewing areas we want to hide.
Location-Light-Override: It is necessary to keep this one checked if we intend to edit the following parameters.
Location-Light-Color: It allows you to edit single color channels. It affects the main lights in the whole room.
Location-Light-Intensity: Sets the intensity of the main lights in the room, it also allows for a brighter than 100% option.
Location Light Translation and Location Light Destination: These two parameters control the origin of the main light and its direction. It can be useful to best represent different times of day like dusk/noon/dawn/night.
Location-Light-ShadowNear and Location-Light-ShadowRange: These two parameters control the behavior of shadows and the distance at which shadows are not visible anymore.
Location-Light-Aux-Disable: It disables 2 additional lights that are placed into the blank room and cannot be edited in any way. Disabling these lights may slightly improve performance and alter the overrall look.
Location-Light-Indirect-Disable: It disables indirect lights which are reflected from other objects. It also affects bloom. Disabling this option will improve performance considerably.
